Unlocking the Secret to the Best Homemade Hummus: Smooth, Creamy & Flavorful
Forget the bland, often-disappointing store-bought versions. Once you experience the unparalleled taste and texture of truly homemade hummus, there's no going back. Crafting your own batch of this delightful Middle Eastern dip is not only incredibly satisfying but also surprisingly easy. This comprehensive guide will walk you through mastering a classic hummus recipe, ensuring every spoonful is perfectly smooth, wonderfully creamy, and bursting with authentic flavor.
Hummus, a staple across the Middle East and Mediterranean, is a simple yet elegant blend of chickpeas, tahini, lemon, and garlic. It’s a dish steeped in history and culinary tradition, offering a versatile foundation for countless meals and snacks. Whether you're a seasoned chef or a kitchen novice, learning how to make hummus at home will elevate your culinary repertoire and impress your taste buds. Get ready to transform humble ingredients into a dip that's rich, wholesome, and utterly addictive.
The Core Components: Mastering Your Classic Hummus Recipe Ingredients
The magic of a truly great classic hummus recipe lies in the quality and balance of its core ingredients. While the list is short, each component plays a vital role in achieving that coveted smooth texture and vibrant flavor profile. Let's delve into what makes each ingredient essential:
Chickpeas (Garbanzo Beans): The Foundation
- Canned Chickpeas (15-ounce cans, 2): For convenience and speed, canned chickpeas are an excellent choice. Ensure they are drained thoroughly, but always reserve their liquid. This starchy liquid, often called aquafaba, is your secret weapon for adjusting consistency without diluting flavor.
- Dried Chickpeas (Optional, for superior creaminess): If you truly want to go the extra mile for an "extra creamy, authentic stuff," cooking dried chickpeas from scratch is a game-changer. This involves soaking them overnight and then boiling them until very tender. While it adds a bit of time, many purists swear by the enhanced texture and flavor. The payoff in creaminess is undeniably worth the small extra step for those seeking perfection.
- The Secret to Super Smoothness: For an ultra-silky texture, some chefs recommend gently rubbing cooked chickpeas between your fingers or with a clean towel to remove their thin outer skins. While not strictly necessary for a delicious result, it’s a pro tip for achieving that ethereal smoothness found in top Mediterranean restaurants.
Tahini: The Soul of Hummus
- 1/4 cup Tahini: This rich, nutty paste made from ground, toasted sesame seeds is non-negotiable. Its quality absolutely impacts the flavor of the hummus. Look for a light-colored, pourable tahini with a slightly bitter but not overly acrid taste. High-quality tahini will yield a much creamier texture and a more profound, earthy depth of flavor. If your tahini is very thick, give it a good stir before measuring.
Fresh Lemon Juice: The Brightener
- 1/4 cup Freshly Squeezed Lemon Juice: This is where the brightness comes from! Fresh lemon juice lifts the earthy notes of the chickpeas and balances the richness of the tahini. Always use freshly squeezed; bottled lemon juice simply won't deliver the same vibrant zest.
Garlic: The Aromatic Kick
- 2 cloves Garlic: Garlic adds a pungent, aromatic kick that defines hummus. Start with 1-2 cloves, finely minced or crushed, and adjust to your preference. For a milder garlic flavor, you can roast the garlic cloves beforehand.
Extra Virgin Olive Oil: The Unifying Elixir
- 1/2 cup Extra-Virgin Olive Oil, plus more for serving: Beyond adding a luxurious mouthfeel and rich flavor, olive oil helps emulsify the hummus, contributing to its creamy texture. Use a good quality extra virgin olive oil – a better olive oil truly makes for a better-flavored dip. A generous drizzle is also the traditional way to finish and serve this dip.
Kosher Salt: The Flavor Enhancer
- 1 teaspoon Kosher Salt: Salt is crucial for enhancing all the other flavors. Kosher salt is preferred for its pure taste and excellent dissolving properties. You can always taste and add more if needed, so start with the recommended amount and adjust to your palate.
Spices & Garnishes: The Finishing Touches
- 1 teaspoon Ground Cumin (Optional, but highly recommended): Cumin adds a warm, earthy dimension that many consider essential to a truly authentic classic hummus recipe.
- Smoked Paprika, Sumac, or Fresh Parsley (for serving, optional): These garnishes add visual appeal and extra layers of flavor. Smoked paprika offers a sweet, smoky hint, while sumac provides a tangy, citrusy note. Fresh parsley brings a pop of green and herbaceous freshness.
The Blending Process: Crafting Your Creamy Hummus
The journey from individual ingredients to a cohesive, velvety dip happens in your food processor. Patience and a few key techniques will ensure success.
- Combine Initial Ingredients: In the bowl of your food processor, add the drained chickpeas, freshly squeezed lemon juice, tahini, garlic, and ground cumin (if using).
- Initial Pulse: Pulse these ingredients until they begin to break down and form a coarse paste. Make sure to stop and scrape down the sides of the bowl with a spatula occasionally to ensure everything is incorporated evenly.
- Slowly Add Olive Oil: With the motor running, slowly pour in the 1/2 cup of extra-virgin olive oil in a steady, thin stream through the feed tube. This step is crucial for emulsification, which contributes significantly to the hummus's creamy texture. Continue processing until the mixture starts to look smoother.
- Season and Puree: Add the kosher salt to the mixture. Continue to puree for several minutes, scraping down the sides as needed, until the hummus is incredibly smooth and light. Don't rush this step; the longer it blends (within reason), the creamier it often becomes.
Achieving the Perfect Consistency
The ideal hummus consistency is a matter of personal preference – some like it thick, others prefer it more pourable. If your hummus is too thick after blending, don't worry! This is where that reserved chickpea liquid comes in handy.
- Adjusting with Chickpea Liquid: Add the reserved chickpea liquid (aquafaba) to the food processor, 2 tablespoons at a time, with the motor running. Blend well after each addition and assess the consistency. Continue adding until your hummus reaches your desired creaminess and smoothness. This method ensures you maintain flavor intensity while achieving the perfect texture.
Expert Tips & Tricks for a Superior Homemade Hummus
While the basic steps are straightforward, a few expert insights can truly elevate your homemade hummus from good to extraordinary:
- Embrace the Power of Blending: Don't be afraid to let your food processor run for a good 3-5 minutes, even after it looks smooth. Continuous blending helps break down the chickpeas further and creates a lighter, airier texture as it incorporates air.
- Quality Over Quantity: As mentioned, the quality of your tahini and olive oil makes a significant difference. Investing in good brands for these two ingredients will noticeably improve your hummus.
- Taste and Adjust: Always taste your hummus before serving. Does it need more salt? A little extra lemon juice for brightness? Perhaps a pinch more cumin for warmth? Adjusting seasonings at the end ensures it's perfect for your palate.
- Chill for Flavor Development: While delicious immediately, chilling hummus in the refrigerator for at least 30 minutes (or even a few hours) allows the flavors to meld and deepen, resulting in a more harmonious taste.
- Consider Ice Water: For an exceptionally light and fluffy hummus, some chefs add a few ice cubes or a splash of ice water during the final blending stage. This helps lighten the texture further and can aid in emulsification.
For more detailed insights on ingredient selection and advanced techniques, be sure to check out our guide on Achieve Perfect Hummus: Essential Ingredients & Expert Tips.
Serving Your Smooth Hummus & Storage Tips
Once your hummus is perfectly smooth, creamy, and flavorful, it's time to present your masterpiece.
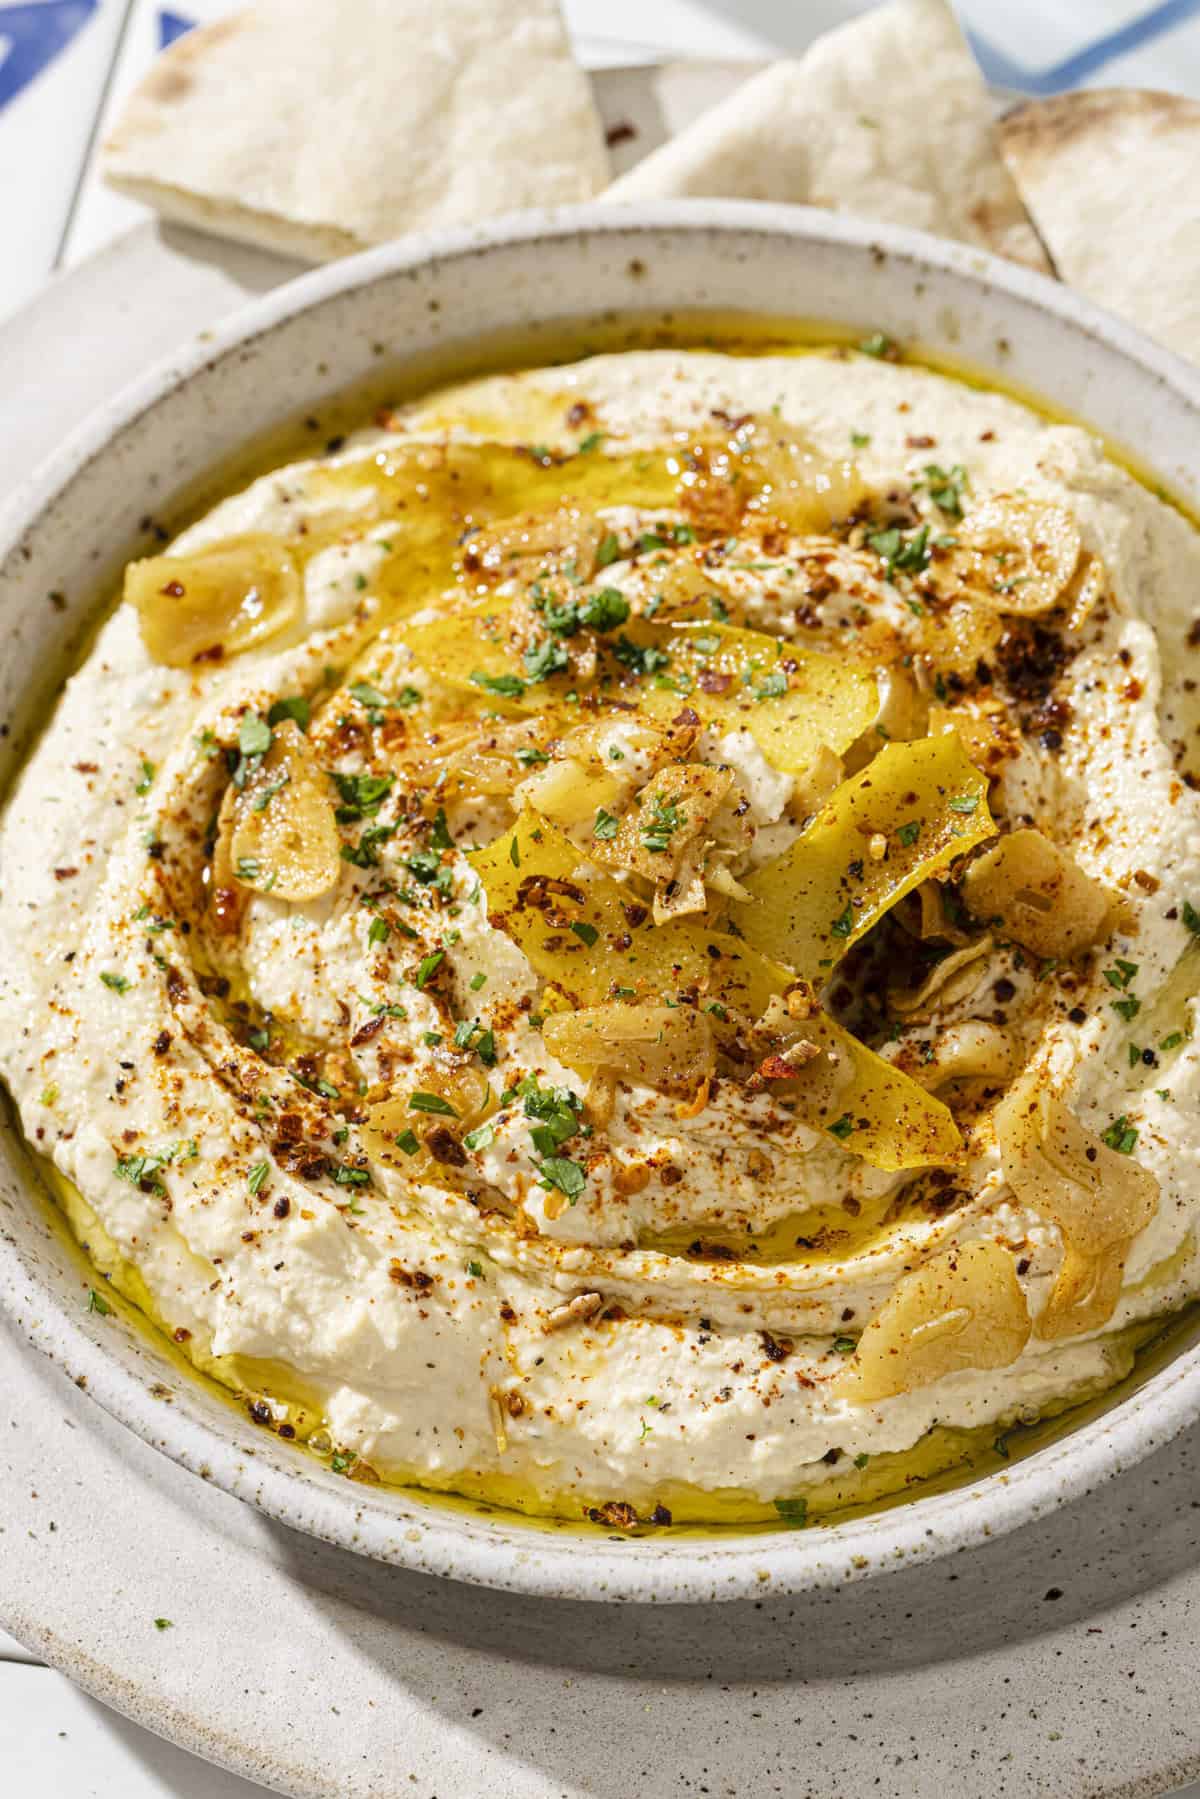
- Traditional Presentation: Transfer the hummus to a shallow serving bowl. Use the back of a spoon to create a beautiful swirl or well in the center. Drizzle generously with a high-quality extra-virgin olive oil – this is a hallmark of authentic hummus presentation.
- Garnish for Flair: Sprinkle with a dash of smoked paprika or tangy sumac. A scattering of fresh chopped parsley or a few whole cooked chickpeas in the center adds visual appeal and textural contrast.
- What to Serve With It: Hummus is incredibly versatile! Serve it with:
- Vegetable Crudités: Carrots, cucumber, bell peppers, celery, radishes.
- Pita Bread or Pita Chips: Warm pita bread, cut into wedges, is a classic accompaniment.
- As a Spread: Elevate your sandwiches, wraps, or toasts.
- As a Meal Base: Use it as a base for layered hummus bowls with roasted vegetables, grilled meats, or falafel.
- Creative Uses: Beyond dipping, hummus can be thinned slightly with water or lemon juice to create a salad dressing, or dolloped onto roasted vegetables or grain bowls for added richness. If you're looking for simple and delicious ways to incorporate more hummus into your daily meals, our Easy 6-Ingredient Hummus: Skip Store-Bought, Get Creamy Smooth article has fantastic ideas.
Storing Leftover Hummus
Store any leftover homemade hummus in an airtight container in the refrigerator. It will stay fresh and delicious for up to 5 days. For best results, you might want to add a thin layer of olive oil on top before sealing to prevent it from drying out.
Conclusion
Making your own hummus from scratch is a rewarding culinary endeavor that brings authentic flavors and a touch of the Mediterranean right into your kitchen. By following this classic hummus recipe and embracing the simple techniques outlined, you'll consistently create a dip that is smoother, creamier, and more flavorful than anything you can buy. So, gather your ingredients, fire up your food processor, and prepare to delight your senses with the best homemade hummus you've ever tasted. Enjoy the journey to hummus perfection!
